Monday, November 30, 2009

Barefoot Bloggers - Creme Brulee

Ack! This Barefoot Bloggers post is so late I'm barely posting it in the correct MONTH!

Ina' s creme brulee was picked by Suzie at Munch+Nibble. I have a creme brulee recipe I've been making since, well, a long time ago. It came from an old (not then) Jim Dodge cookbook and it was perfect every time. So I was pretty skeptical I would like this one because, well, it's not the one I usually make. It uses whole eggs, and I was conflicted about whole eggs in a custard.

I decided to make 1/4 of the recipe, since M. was traveling. Since Ina's recipe calls for using 8 ounce ramekins and I use 4 ounce, I figured I'd still have plenty to enjoy.

The recipe was super easy. I used vanilla bean paste instead of extract because I love the vanilla speckles. I ate one of them slightly warm and it was delicious. The others were enjoyed chilled, and I do mean enjoyed. I was glad I didn't have to share this one!
If you'd like the recipe, you can find it here.

Cheesecake Streusel Brownies

When the nice folks at C&H Sugar contacted me and asked if I'd like to make a recipe from their website and blog about it, I only thought about it for a minute or two. Even though I have never accepted an offer before to blog about a product, I use C&H. In return, they gave me a $20 gift card to use for my baking habit. Sweet! (no pun intended!)

The hard part of this was choosing a recipe. I printed off six recipes in about 5 minutes of looking, and settled on Cheesecake Streusel Brownies. They had two things going for them: they looked easy and they had chocolate in them. I vowed to remain true to the recipe, and I was mostly successful, though I chickened out at the last minute and subbed bittersweet chocolate chips for the topping.

The recipe starts with the streusel/brownie layers. You make the streusel, set some of it aside and use the rest to make the brownie layer. The recipe was very easy, and because the cheesecake layer gets covered in streusel and then chocolate chips, I didn't have to stress about little bits of the brownie layer that got stirred up when spreading the cheesecake. Not that I had a problem with that. No, not me.

The part that perplexed me was the layering: brownies on the bottom (sure), then cheesecake, (fine), streusel (makes sense), then chocolate chips. What? Chocolate chips on the top?? I kept muttering "I don't see how this is going to work" as I sprinkled the chocolate chips on top. As it baked, the chocolate chips melted slightly and formed soft little chocolate spots on the top.


These smelled fantastic as they baked so I didn't let them cool entirely before cutting one to sample. You definitely want to wait until they're cool before slicing them because they are a little crumbly when warm but slice cleanly when cooled. The cheesecake and brownie layers were delicious together, but the streusel really made them better. Next time, I'd add a little salt to the streusel and brownie, change the chocolate in the brownie to bittersweet and use semi-sweet for the topping. These would also be terrific with toffee bits in the brownies or walnuts in the streusel.

Thanks to the folks at C&H for including me in their holiday blogging event!

Tuesday, November 24, 2009

TWD - All-in-One Holiday Bundt Cake


The All-In-One Holiday Bundt cake, selected by Britin of The Nitty Britty for this week's Tuesdays with Dorie recipe with apple, pumpkin, cranberry, pecan, all in one cake could be a train wreck or really delicious; fortunately it was lovely with the maple glaze.

Monday, November 23, 2009

BBA Rewind - Cinnamon Raisin Bagels

Pinch me, I must be dreaming.

I mean, bagels aren't made at home. They're made at the eponymous bagel shop. Usually they're big and doughy, and after eating one, you feel like you ate your pillow.

Peter Reinhart's bagels from The Bread Baker's Apprentice do not fall in this category. You make them in your own kitchen, no magic or special equipment needed. Nor do you feel like you swallowed a rock.

I know it sounds like science fiction, but it's true.

I made these the day after we lost Allie, and I made them because I thought it would give me something to occupy myself with, something I had looked forward to doing. See, it was the bagels I saw on some of my favorite blogs that made me consider doing something as crazy as buying a book about bread and making the recipes.


I tried to screw up. I was quasi-successful the first time, except I threw in the towel when I realized I had under-hydrated the soaker, tried mixing more water into the dough, and quickly saw it wasn't going to work. The dough went in the trash and I started again.


Even the second time, my brain wasn't completely engaged and I mixed the yeast in with the flour, salt etc. to add to the soaker. I put the soaker in the fridge while we ate a late lunch, but rescued it after a half an hour and proceeded with the recipe, even though the soaker was chilled. I then rested the portioned dough in the barely warm oven for over an hour, enough for the little balls of dough to swell up considerably, making it hard to peel them off the parchment for shaping. I used the rope method, not the hole punch after seeing so many comments about flat bagels when using the hole punching method. But they floated immediately, and off to the fridge to sleep they went.


While drinking my coffee the next morning, I brought a pot of water to a boil, tossed in the baking soda, and boiled the little darlings a few at a time. They looked pathetically scrawny, and I worried that they wouldn't turn out.


After baking, they looked like this:


But I still worried. What if they weren't fully baked?? 10 minutes in the oven doesn't seem like enough time. I needn't have worried. When I cut into one, this is what I saw:

Toasted and spread with butter, it was divine.

I wish I thought to take a beauty shot, but I was too intent on eating it while it was hot. I knew you'd understand.

Thursday, November 19, 2009

CEiMB Catch Up - Peach French Toast Bake AND Carrot, Green Apple and Mint Salad


Where has the month gone???

I had the horrifying realization yesterday that Thanksgiving is next week. Next week! I thought I still had two weeks left. When I was at Trader Joe's this weekend, I noticed the interest around the turkey case, and wondered what the rush was. Now I understand.

For Craving Ellie in My Belly this week, Liz of The Not So Skinny Kitchen chose Ellie's Peach French Toast Bake. I read the discussion about this recipe and noted that the egg mixture needed some doctoring since it was bland. Did I remember to do that? No. I read the recipe, which said to use cooking spray on your baking dish. Did I do that? No. It said to serve it with maple syrup and non-fat yogurt. Did I remember that? No. So what I ended up with was a bland, glued-to-the-dish breakfast that left a lot to be desired. But I could tell this one could be really great IF I followed the recipe, spiced up the eggs, and maybe grated in some orange zest. And the clean up would be easier if I sprayed the pan.

I had never made baked french toast before, and Ellie's recipe was so ridiculously easy that I'll definitely make it again with the changes noted. Thanks, Liz, for picking a recipe I never would have thought of trying!

*******

Last week, Jessica of A Singleton in the Kitchen chose Ellie's Carrot, Green Apple and Mint Salad. Now, if you aren't already a follower of Jessica's blog, you really need to be. She is funny and real, and has a creative way with the recipes she makes. She participates in a number of cooking groups while pursuing her masters degree and working as a teaching assistant.


When I saw Jessica had chosen this recipe, I tried to wrap my head around it and couldn't. I wasn't sure how it would taste, but I trust Jessica and her palate, so I went for it. I used the food processor to shred the carrots and apple, mixed the dressing (mayo, non-fat Greek yogurt, cider vinegar, lemon juice and honey) in a bowl, did a quick chiffonade of fresh mint, and threw it all together. It took 5 minutes. OK, maybe 8. And it was DELISH. I tossed on some roasted salted peanuts, and it added a nice salty note. We had this with adobo chicken and brown rice, and it made a nice flavor profile. I will definitely make it again, but as Jessica suggested, I would increase the apple and decrease the carrot...I wasn't getting enough of the apple flavor, and I would use the julienne blade to get larger pieces of apple and carrot. In my opinion, the two elements that make this dish are the mint and the cider vinegar. Don't even think of using white vinegar in this one.

Thanks, Jessica, for picking a recipe that might have never been picked. We loved it! It lasted for several days, and was just as good on day 3 as it was the night I made it.

If you'd like the recipe, you can find it here.

Wednesday, November 18, 2009

Triple Chocolate Fudge Brownies


When the going gets tough, I make brownies. These deliver huge flavor with minimal preparation, use ingredients you likely have in your pantry and are a great one bowl, spur-of-the-moment offering. So when we needed cheering up after having to let go of our kitty last week, I made these brownies. They're easy and delicious, though not quite as delicious as these. You can prepare them in advance, refrigerate them in the baking pan and bake them off the next day.


Triple Chocolate Fudge Brownies - adapted from Gourmet

6 oz bittersweet chocolate, chopped (I use Ghirardelli 60% bittersweet chips)
2 oz unsweetened chocolate, chopped
12 tablespoons (1 1/2 sticks) unsalted butter
1 1/2 (10.2 oz) cups sugar
2 teaspoons vanilla extract
4 large eggs
1 cup (5 oz) all-purpose flour
1 teaspoon salt
1 cup semi-sweet chocolate chips
3/4 cup chopped walnuts, pecans or almonds (optional)

Butter and flour a 13" x 9" pan and set aside. In a metal bowl, combine the butter, bittersweet and unsweetened chocolates and set it over a pan of simmering water. Stir until the chocolates and butter are melted and combined, then remove from the heat. Let the mixture cool until it is lukewarm, then stir in the sugar and the vanilla. Add the eggs one at a time, stirring until incorporated. add the flour and the salt, stirring until just combined (a few flecks of flour are OK), then mix in the semi-sweet chips. spread in the prepared pan, smooth the top and scatter the nuts over the top, pressing very lightly. Bake at 350 for 25-30 minutes, until a tester comes out with crumbs adhering to it. Cool completely before cutting.

Tuesday, November 17, 2009

TWD - Sugar-Topped Molasses Spice Cookies


During the month of November Laurie, our Tuesdays with Dorie fearless leader, has given us the option of posting out of order. These cookies are scheduled for this week and were picked by Pamela of Cookies with Boys. Pamela is one of my all-time favorite people. You know she's a really cool, sweet, caring person just from reading her blog. So I was excited to make her pick, even though I'm not a fan of molasses, nor of spice cookies.

Imagine my surprise when I loved them! Absolutely loved them! They're easy (which never hurts) and adaptable (I nixed the pepper and allspice and added nutmeg instead) and you can keep the dough in your fridge and bake them off as needed. That's the perfect kind of cookie in my book. If you'd like the recipe, check out Pamela's post or better yet, buy the book everybody is raving about: Baking From My Home to Yours and join us in baking through it.


I sprinkled on extra sugar before baking some of them, and though I like how it made them look, it didn't add anything to the flavor so I'll skip that step next time. I'll also bake them for a minute or two less since I like a chewier cookie. And next time might be tonight since I still have some dough in the fridge. Sweet!

Thanks, Pamela, for a pick that was surprisingly good.

Monday, November 16, 2009

BBA - French Bread


This week's Bread Baker's Apprentice was a marathon, not a sprint, and a hearth bread, too. I wasn't smart enough to be filled with angst over it, given the miserable fail of my last attempt at a hearth bread. In fact, I interrupted the preparation of this bread so many times, with the dough going in and out of the fridge over a period of days that I wouldn't have been surprised if it failed.


It didn't. It was the ugly duckling of French breads, but it was crisp, deeply flavorful and yes, had holes inside. (imagine me skipping to work the day I made it!) My slashing left a lot to be desired and I mangled it getting it from the cloche on to the baking stone, so it wasn't the most beautiful looking bread, but it was delicious and, yes, authentic. My coworkers loved having fresh French bread for breakfast. Peter Reinhart's steam technique gave it an amazingly crunchy crust. I wish I could speak coherently about this bread, but I'm so blown away by its success that I can't!


The victims after the slashing

Make sure you check out the other members of the Slow & Steady subgroup of the Bread Baker's Apprentice event (and they are Nancy (of Corner Loaf), Cathy (of The Tortefeasor), Audrey (of Food From Books), Jessica (A Singleton in the Kitchen), Melissa (of From Laptop to Stovetop), Kayte (of Grandma's Kitchen Table), Sarah (of Blue Ridge Baker), Di (of Di's Kitchen Notebook), Margaret (of Tea and Scones) and Natalia (of Gatti Fili e Farina). I know they will be able to hold themselves together and describe their breads more eloquently than I am able to.

Sunday, November 15, 2009

Chocolate Muffins and a Rant


When I visit my fellow bloggers' blogs, I'm always blown away by what they're making. I recently read Nancy's post on Vermont Oatmeal Maple Honey bread, and thought maybe I should check out the King Arthur flour cookbook she got the recipe from (it also made me order some maple sugar so I could make the bread). When I say "check out," I mean buy it on Amazon and look through it when it arrives. But Nancy said she had checked it out of the library...what a concept! As I was looking on Amazon, I thought I should check it out of the library as Nancy did before deciding to shell out the money for the book. So I did.

After paging through the book, I've decided there isn't enough in it for me to want to buy the book, though I liked how it gives weights for the dry ingredients. I did find a few recipes to try over the next couple of weeks, before the book is due back at the library. One of them was for what are called chocolate breakfast muffins. Having made these muffins, I can wholeheartedly say I would love to eat these for breakfast, if I was one of those night owl types who eats breakfast at 4 in the afternoon. At 7 AM, not so much.


That's not a slam against this recipe (my version is below), it's more a testament to their deep, dark chocolate flavor. These need either a glass of milk or cup of coffee to wash them down. Resist the urge to eat them warm from the oven...they are so much better after they cool completely. This is easily one of my favorite muffins.


The rant? I am SO OVER silicon muffin molds. I am beyond tired of digging out the bottom after it doesn't emerge attached to the rest of the muffin. Maybe they work with a straightforward muffin without any sticky (chocolate, cinnamon sugar, etc.) components, but that's not the type of muffin I gravitate to. I would rather butter a muffin tin and have the muffins COME OUT than use a pan that requires no buttering but eats half your muffin. Imagine what a lovely and thoughtful gift to give someone a dozen muffins, half of which look like a child picked off the bottom part of the muffin! Grrr...


There. I feel better now. Time for another muffin. Well, maybe I should eat lunch first.

Chocolate "Breakfast" Muffins - Printable Recipe
Adapted from King Arthur Flour Baking Companion

2/3 cup (2 ounces) cocoa, Dutch-process or natural
1 3/4 cups (7 1/4 ounces) all-purpose flour
1 1/4 cups (10 ounces) light brown sugar
1 teaspoon baking soda
1 teaspoon baking powder
3/4 teaspoon salt
1 cup (6 ounces) chocolate chips
2 large eggs, at room temperature
1 cup buttermilk, at room temperature
1/2 teaspoon espresso powder
2 teaspoons vanilla extract
8 tablespoons (4 ounces) butter, melted

Preheat oven to 425 degrees. Butter a 12 cup muffin tin or use paper liners.

In a large bowl, whisk together the cocoa, flour, sugar, baking soda and baking powder, salt and chocolate chips. The better combined the dry ingredients are at this stage, the less you need to stir the muffins, which keeps them from getting tough. Set the dry ingredients aside.

In a 4-cup measure or small mixing bowl, whisk together the eggs, buttermilk, espresso powder, and vanilla. Add the wet ingredients and the melted butter to the dry ingredients, stirring with a spatula until well combined. Don't overmix. Bake for 15-20 minutes, until a tester inserted in the center of a muffin comes out clean. Cool on a rack for 5 minutes before turning out onto the rack to cool completely. Can be served warm or at room temperature.

Note: Since I made these in a European silicon muffin mold, I had leftover batter, which I baked as minis. The minis baked for 10 minutes, and probably could have come out after 9 minutes.

Tuesday, November 10, 2009

Farewell, My Sweet

I've been quiet since our vacation, mostly because I've been obsessing about the failing health of my sweet little Allie. Allie has been rapidly losing weight, and is also suffering from an intestinal ailment that we just won't discuss on a blog that focuses on food. I feared she wouldn't make it until we came back from vacation, but she did, and it renewed my hope that we could overcome what has been a rapid decline in her health.

It was not to be, and I faced the difficult decision all pet owners dread: when does keeping her alive cross the line from being a responsible pet owner into selfishness at the cost of her comfort? Yesterday, she climbed into my lap and sat down, facing me, and looked me in the eye. I knew she was telling me it was time. Today I followed my head, not my heart, and let her go.


I found Allie through an email appeal almost 7 years ago when she was 6 years old. I had another kitty, Rosebud, who was in the sunset of her life, and Allie dedicated herself to making the last year of Rosebud's life miserable. Allie had many special qualities as most cats do, but foremost among them was she would pet herself when she was feeling neglected. She had been shot with a pellet gun when she was young, lived as a declawed cat in a home with cats with claws and came to us with a heart full of love in spite of a tough start in life. We were her third or fourth home, and I resolved we would be her last, and that when Rosebud died we would be a one cat home for the rest of Allie's life. She deserved it.

Allie won over all visitors, cat lovers and haters, construction workers and delivery people, with her self-petting antics and talkative nature. She slept face down, blocking out all possible sources of oxygen, and thrived on stalking bugs and pining for the hummingbirds on the other side of the window. When the kitchen was under construction, she supervised the work. One day, she got into the crawl space under the house and I couldn't find her when I came home. I heard her meowing under the house and found her, dirty and hungry. The panic I felt then should have prepared me for losing her today, but that fear was quickly overtaken by her clingy sweetness.


Goodbye, my sweet princess. Thank you for years of love that ended far too soon. I miss you so.

TWD - Chocolate Caramel Chestnut Cake


People, did you notice it's November already? I'm shocked. I'm also SOOOO behind on everything, and not just in the blog part of my life. Which is why I haven't been by to visit you recently. Sorry about that!

See, we got home from our family vacation late Monday night (a week ago!), and the delicious feeling of posts in the queue evaporated on Tuesday. The feeling of MUST POST NOW started overtaking the feeling of MUST HAVE CLEAN LAUNDRY NOW, and the two struggled until I found myself two days later with clean laundry hanging all over the house and three unfinished recipes littering the kitchen.

One of these three recipes was last week's chocolate caramel chestnut cake, chosen for us by Katya of Second Dinner. I had initially resisted this recipe as it was "due" the day after we got back from vacation, but when Laurie gave us the flexibility to mix up the recipes this week, I reconsidered making it. When I found the chestnut puree and chestnuts in Paris (at Monoprix, a combo department/drug/grocery store) for a fraction of what they would have cost me at home, the bargain factor kicked in and I resolved to make this when I returned home.

While in Paris, I picked up a nasty respiratory infection that I am still battling, and that made it harder to settle back into a routine once we got home. Still, I made the cake part of the cake and froze it for a few days until I had an event suitable for such a classy dessert.

The event? A silent auction for our P.E.O. chapter. I bought gold luster dust and brushed it on the chestnuts for the decoration on top of the cake. Since I assembled the cake at 4:30 AM on the day of the auction, I forgot to use both the syrup (which I made with water instead of brandy) and chopped chestnuts between the layers. The finished cake wasn't as perfect as I wanted it to be, but the gold chestnuts gave it polish.

The cake was delicious with the ganache and the glaze (I made myself a scrap taste using cuttings from what I cut off the domed top layer), but I would have liked more chocolate flavor (I'm not a milk chocolate fan). I intend to make the caramel ganache again with bittersweet chocolate and salt, since what's not to love about salted caramel ganache?

Thanks, Katya for choosing a cake I never would have undertaken on my own. It wasn't so difficult and the flavors were interesting together. If you'd like the recipe, buy the book (Baking From My Home to Yours by Dorie Greenspan) or stop by Katya's as she has it posted.

Tuesday, November 3, 2009

No TWD, but Raspberry Tart with Chocolate Shortbread Crust


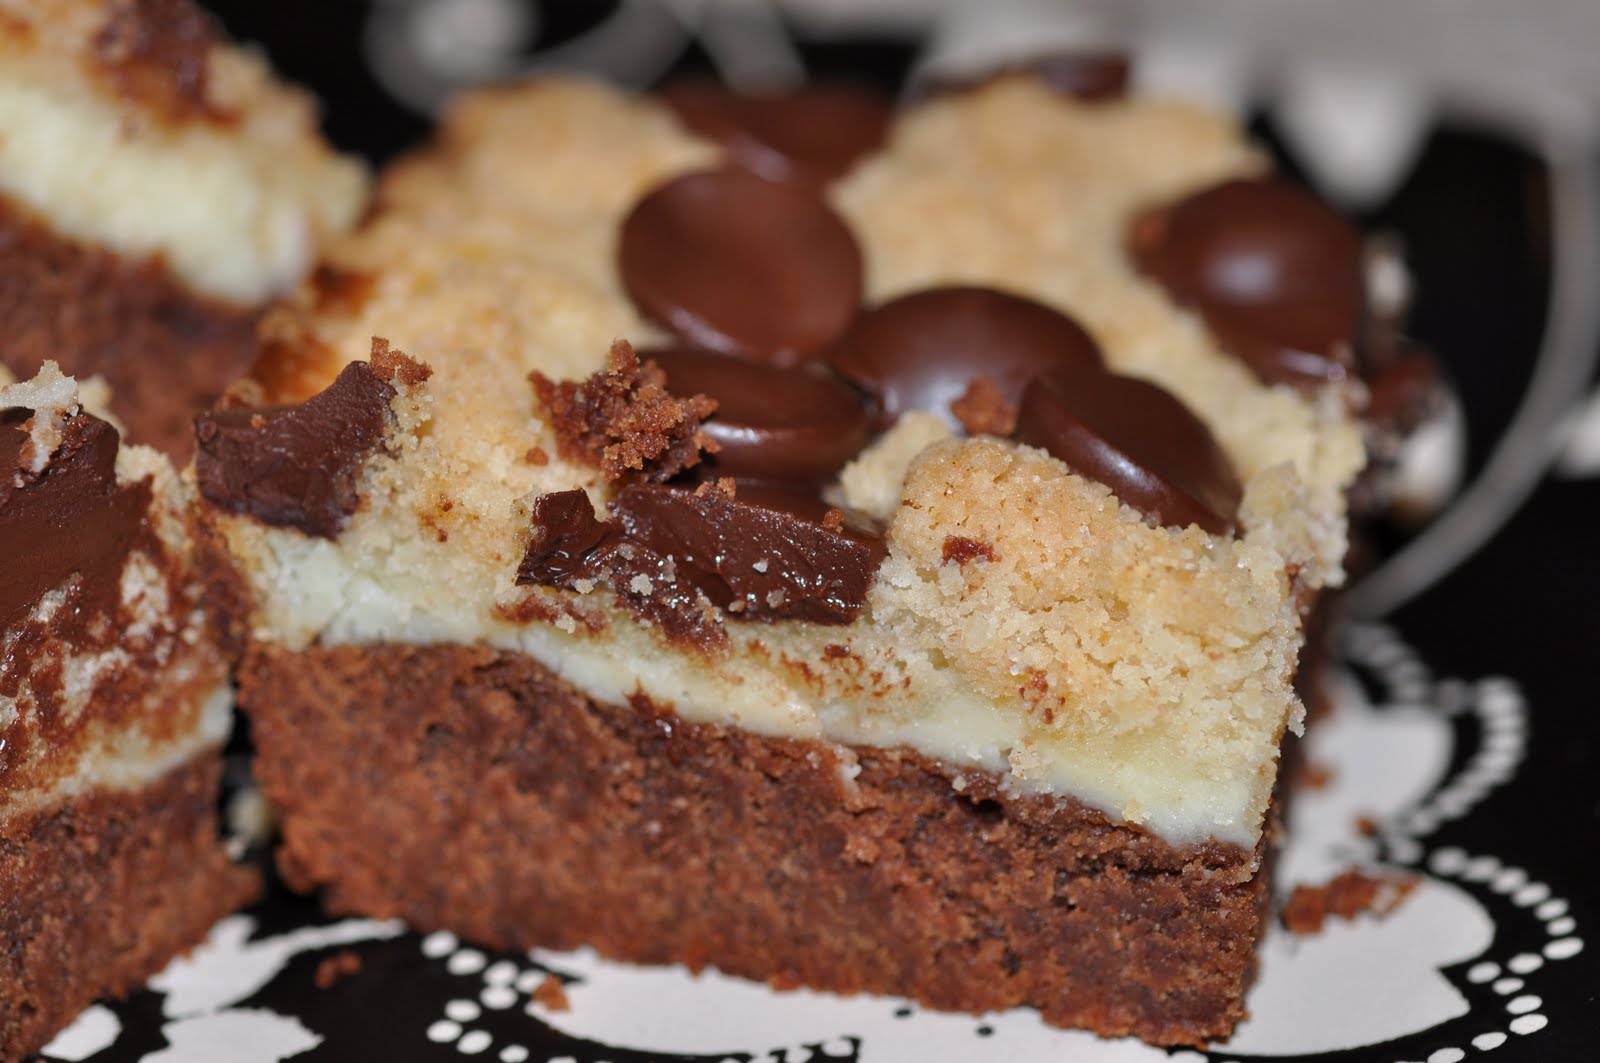
This week, the Tuesdays with Dorie bakers are making Katya's (of Second Dinner) pick, Chocolate Caramel Chestnut Cake. I was days away from leaving on vacation when the November picks were announced. If this one had been cookies, brownies, muffins or something like these, I could have fit them in. Katya has great taste so her pick was going to require more time than I had. Visit her to see what her beautiful cake looks like.

Those of you who stop by regularly know I don't always come from a rational place. Exhibit A:

Five days before going on vacation, I spotted beautiful raspberries at Costco. Costco, the land of excess, sells them in boxes of 6 clamshell containers. Even though I'm going on vacation in 5 days, I buy them.

Driving home, I wondered what was I thinking??? How was I going to eat six containers of raspberries on my own? Later, I commiserated with a friend, and decide to make my own IQF (individually quick frozen) raspberries. But lining them up on sheet pans to freeze seems exceedingly tedious, so I decided to make a raspberry tart. By this time, two of the containers were gone, but I figured making a 9" tart would leave me with leftover berries, so I made a 10", plus four 4" chocolate tart shells. Then I made pastry cream. Does anyone else enjoy the irony of watching "The Biggest Loser" while making pastry cream? Finally, I assembled the fruit tart before leaving for work the next morning.

I based my pastry cream on Dorie Greenspan's from Baking From My Home to Yours. I cooked it a little too long, based on her instructions to boil the custard for 1-2 minutes. When it started thickening, my instincts shouted "DANGER!" but I ignored them since it had only been 30 seconds. So my custard ended up very stiff. No worries. When this happens, I always whip some cream and whisk it into the pastry cream to lighten it (I'm talking texture, not calories, because this recipe is pretty much a train wreck for your diet).


I used Dorie's chocolate shortbread crust also from BFMHTY, and it was deliciously chocolaty. Once I assembled the 10" tart, I realized I hardly had enough berries for it, with practically none left over for the 4" minis. Instead of stressing about this, I served the tart at work with the minis, thinking someone would snap them up. And they did, before the tart was even half gone.


Even with a new kitchen, I still run out of space

Don't laugh, but this is a quick, easy recipe for a knockout tart. The chocolate shortbread crust recipe can be found in Baking From My Home to Yours. Here is my version of Dorie's pastry cream.

Pastry Cream, adapted from Baking From My Home to Yours.
Makes about 4 cups

3 cups whole milk (I only had 1%, so I used 2 1/2 cups 1% and 1/2 cup whipping cream)
1 vanilla bean, split and scraped
9 large egg yolks at room temperature
3/4 cup of sugar
1/2 cup cornstarch, sifted
5 tablespoons butter, room temperature, cut into butter pat-sized pieces
3/4 cup (or more or less, to taste) whipping cream (optional)

I like the softer texture that adding whipped cream gives. If you like a sturdier pastry cream, skip the whipped cream.

Bring the milk to a boil in a small saucepan; add the vanilla bean and its scrapings, cover and let sit off the heat for 30 minutes. Bring the milk back to a gentle boil.

Meanwhile, whisk the egg yolks, sugar and cornstarch in a large bowl or measuring cup and add the hot milk in a very thin stream, whisking constantly. Once a third of the milk has been added, you can pour the rest in without danger of cooking the yolks.

Pour the custard through a strainer into a medium saucepan and cook the mixture over medium heat, whisking constantly, until it thickens and coats the back of a spoon. Set it aside for 5 minutes, then add the pats of butter and whisk them in completely. Press a piece of plastic wrap against the surface to prevent formation of a skin and refrigerate.


Before assembling your tarts, check the consistency of your pastry cream. If it's too firm for you, whip the cream in a clean, dry bowl, and whip it into the pastry cream. I always eyeball this. This time, since I made so much pastry cream, I added another dose of whipped cream.

Because you've added whipped cream, this pastry cream (which technically is more like a Bavarian cream) is not stable for long periods at room temperature.


I'm sorry, Katya, that couldn't tackle your pick before I left on vacation. It looks scrumptious and I hope to fit it in once I settle back in.

Monday, November 2, 2009

BBA - Focacci-aaahh

Some books change your life. They help you find your calling, open your eyes to social injustice, heal your inner wounds or push you beyond what you thought you were capable of. I recently read a book like that. The book? Peter Reinhart's The Bread Baker's Apprentice: Mastering the Art of Extraordinary Bread. While I'm not quitting my job and joining the Peace Corps, it has made it possible for me to do something I never thought possible: make very good bread. Bread that people can't resist. This was one of those recipes.

I had a lot of trepidation about making this particular yeast dough. It called for stretching out and folding the dough repeatedly, like this ciabatta that was a resounding failure. But I should not have worried. This dough came together easily and stretching and folding it over 30 minute intervals was so relaxing.

I made the dough several days before I needed the focaccia, so I let it sleep in the fridge, allowing the flavor to develop. If you want to smile whenever you open your refrigerator, stick a sheet pan of focaccia dough in there.

I made the mistake of not measuring the olive oil to spread over the pan before stretching out the dough to rise, and I probably used twice what the recipe called for. There was some olive oil pooling in the corners, and the baked focaccia had a oiliness on the bottom that wasn't unpleasant, but it would have been nicer without it. I used my "good" olive oil from my adopted tree in Italy and it gave a wonderful flavor to the focaccia.

This bread was a delight to make and eat. It requires frequent intervention, but not a lot of hands on time. It holds well in the fridge before you bake it off, and a longer hold deepens the flavor.

When making the herb oil to brush on the top, I didn't want to go to the store (again) to buy fresh basil, so I used dried spices. How I have kicked myself over my laziness. But I will make it again, and I will use fresh herbs. And I will caramelize onions and garlic. And I will again thank Peter Reinhart silently as I marvel over how a yeast-phobe like me could bake such an extraordinary treat.

If you want to tame your inner (yeast) demons, buy the book and join us in baking through it. I'm blessed to be part of the Slow & Steady Subgroup of the The Bread Baker's Apprentice group, and it's a delightful group of bakers discovering their yeast muses.

************
Lethally Delicious is on vacation, but we'll be back in a few days.